

Cuddle Up with Shannon Fabrics
December 18, 2021
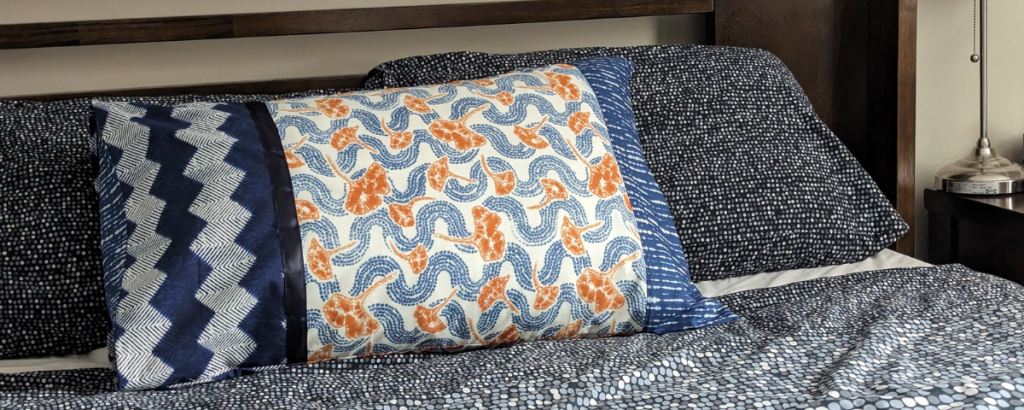
How to Make A Fun Patchwork Cushion using a Layer Cake
March 24, 2022
Fabric Tablemats – try this beginner-friendly project that you can easily make in a weekend—with just a handful of supplies!
Half a Jelly Roll or one Junior Jelly Roll is just the right amount of fabric to make a set of four tablemats. The only extra fabric you’ll need is the backing, and they’re so fast to make!
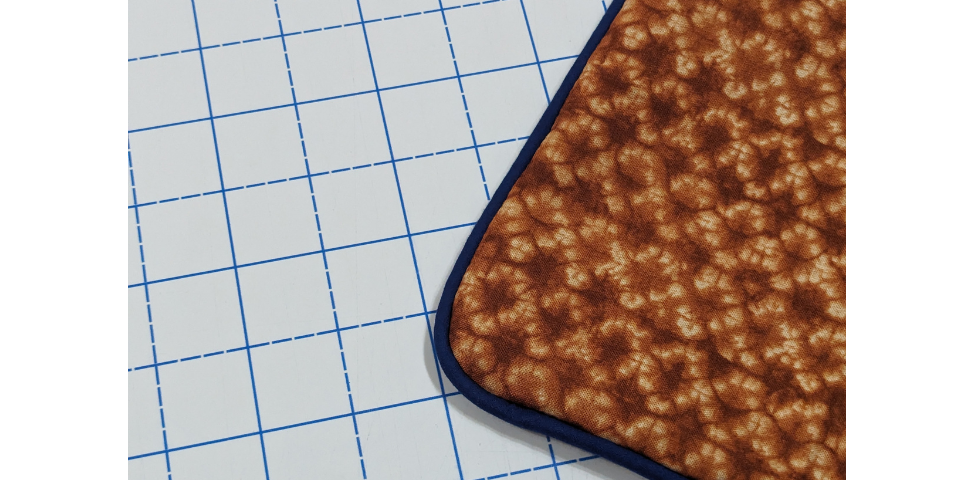
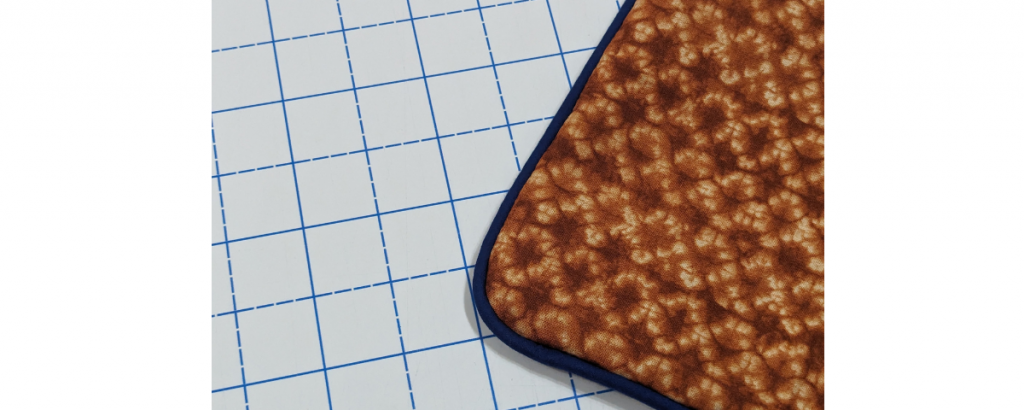
Here’s what you’ll need to gather to make your tablemats, each measuring 16 1/2” x 12 1/2”,
- Sewing Machine
- Cutting tools: Rotary cutter, mat and ruler
- 20 Jelly Roll Strips
- 3/4m backing fabric of your choice
- Large batting scraps
- Basting Spray (optional)
- Wonder Clips (optional)
Choosing Fabric
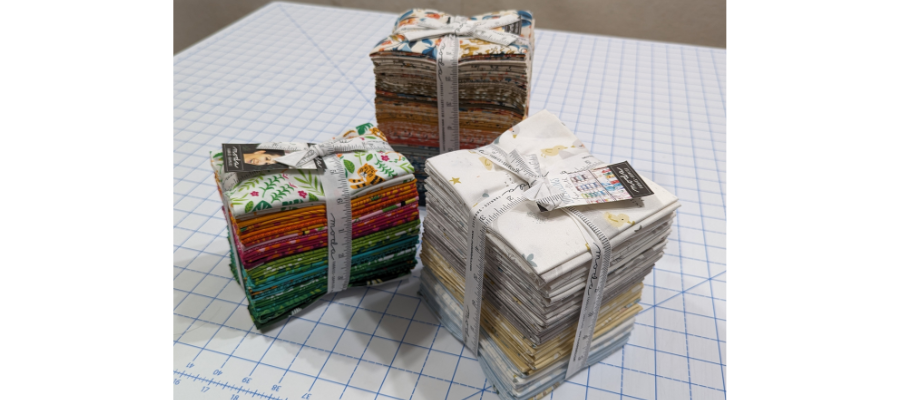
The fabric featured in the image here is a Junior Jelly Joll of Florida by Ruby Star Society for Moda.
Here are some Jelly Roll options available on the TrendTex Shop that are great options to use in Fabric Tablemats. Junior Jelly Rolls have 20 strips in them, each measuring 2 ½” wide, across the full length of fabric. A regular Jelly Roll contains 40 strips, so you could make up to eight tablemats, or save the other half for another project.
Watch this Tiktok video for a quick snapshot of how to create this at home!
Piecing the tops of the Fabric Tablemats
- Set aside eight strips for later and cut the remaining 12 strips into squares. You will get 16x 2 ½” x 2 ½” squares from each strip for a total of 192 squares.
- Divide each set of 16 matching squares into four so that you have an even mix for each placemat. You should have four piles of 48 squares.
- Working with one pile at a time, take two squares and sew them together. You’ll want to make sure that you’re not sewing the same prints together, so select them randomly, without overthinking it. One way to quickly do this is to put the squares into a tub and pull them randomly without peeking . Sew all squares into pairs, which will give you 24 units.
- You will now sew these two-square units to another to make a strip of four squares in the same way, and you’ll end up with 12 units.
- Next, sew two of the four-square units to each other to make six eight-square rows.
- Arrange the rows in a way that looks pleasing to you, trying to avoid having the same prints touching when it comes time to sew the rows together. When you’re satisfied, press the seams alternate ways with a hot iron. If you press the even rows to the left and the odd rows to the right, it makes it easier to match up the seams nicely.
- Sew the rows together in the order that you chose to make a piece that is eight squares wide and six squares tall. Give it a good press to make it nice and flat.
- Repeat steps 3-7 for the remaining three piles of squares to make all four pieced tops.
Finishing the Fabric Tablemats
- Cut your backing fabric into four pieces. They need to measure at least 18” x 15” but it does not have to be accurate at this stage. You also need four pieces of batting, which can be cut from quilt leftovers. Your pieces need to be a little smaller than the backing but larger than the pieced tops.
- Lay the backing fabric face down on a table, followed by the batting. Next apply the top face up. You’ll want to make sure there is excess batting and backing on each side. Smooth any wrinkles or folds and baste the layers together. The quickest way to do this is with basting spray, but it can have a strong smell and be quite sticky so it is best used in well ventilated spaces. However, you could opt to use safety pins instead. If using the spray, make sure to spray the batting and attach the backing, and then spray the other side of the batting to attach the top and smooth down again. Repeat for all four.
- It’s time to quilt! Take your basted quilt sandwich over to your machine. You’re free to quilt however you wish, but if you’d like to match ours, you’ll need to increase your stitch length just a little and use a regular straight stitch or universal machine foot. You may want to change your needle to an 80 or 90 size if not already in your machine.
- Align the edge of the foot with one of the seams towards the centre of the mat and sew all the way across. Working from the centre allows any shifting that occurs to distribute outwards and avoid puckering? Rotate 180 degrees and sew another line of stitches on the other side of the seam.
- Rotate the quilt 90 degrees and sew one of the seams running the opposite way in the same manner. If you alternate the seams as much as possible, this also aids with a smoother finish. Keep going until you have sewn to the left and the right of all vertical and horizontal seams. Quilt all four tablemats.
- Now we need to trim everything ready for binding. Trim down the whole piece until it is 16 ½” x 12 ½”. Start by using your piecing as a guide, but after the first cut, make sure to use your mat as a guide to make ensure you’re cutting evenly and you end up with true rectangles. If your top measures a little less, don’t worry! Just make sure you cut all four pieces down to the same dimensions.
- Remember those eight strips you set aside at the beginning? Now is their time to shine! Sew a pair of strips end to end using a 45 degree angle. You may need to remove selvedges. To do this, your strips will be right sides together and positioned so that they are at 90 degrees. Repeat to make four. (If you need additional binding help, Leah Day has written a comprehensive guide on how to join the ends and mitre corners. You can find it here)
- Press the seams open and then fold and press the entire length to make your binding.
- Starting from the centre of a longer edge on the back of the table mat, sew the binding into place leaving a tail of 5 inches or so. Mitre the corners as you get to them, and once you get back to the starting edge, leave a large gap to make joining the strips easier.
- Join the ends together. We recommend reading how Leah Day does this if it’s your first time, as this will result in a nice even finish, and is explained very clearly. .
- Fold the binding to the front of the mats and clip with Wonder Clips if you wish. Sew in place as close to the edge as you can. You’ll want to make sure that the folded edge is clear of the original line of stitching throughout so that not only the front looks great, but it looks even on the back too. Once all four tablemats are bound, admire your work!
Did you make this at home? We’d love to see your creations. Tag us on Instagram or Facebook so we can see your design! #TrendTexFabrics @trendtexfabrics